
Vinarterta
A Pictorial Guide
This is the biggest Christmas recipe in my family. For those that haven't ever tasted it (and if you live in Manitoba I can't believe you haven't), it's a kind of torte in that it has numerous thin cakey-cookie layers, with a prune-based filling between them. It's an Icelandic classic, and this version has been passed down through my grandmother's family. My mom made it every Christmas when we were kids and still does - and occasionally makes it outside of Christmas if she's pestered enough.
To start out with, I should say that there are a huge number of flavour variations in vinarterta recipes - the taste and the texture are quite different from one family to the next even though it's the same basic idea. I've known people who use cardamom, cinnamon, and even wine in filling, and there are those that ice it (sticky blasphemy) and those that don't (perfect), even those that use marzipan on top (I won't even comment because there just isn't enough snark). There are also size variations - large sheets (like this one) vs. small rounds, and layer variations (5, 7, 9...). It's one of those things where someone else's is always a pale comparison to what you had as kid - people get possessive of the way they do it and consequently what it's supposed to taste like. What this basically amounts to is that if you've had this before, either homemade or from a bakery, yours won't taste like mine. It's such an Icelandic tradition that you never really change anything about it, no matter how trivial. So as far as the recipe goes, I'm going to keep this to what we do in our family and make mention in places to variations that are commonly seen.
This recipe is not complicated in terms of ingredients, but it's a little finicky in terms of technique: anybody can make it and make it taste good, but if you want it to look perfect you have to practice. An imperfect-looking vinarterta is equally tasty though, so it's well worth making a few practice runs on! The technique described makes a single large vinarterta, but if you're worried about shuffling large layers, you can divide it appropriately and make two (or even more, I suppose) smaller ones. You might also want to make your life easier (as we usually do) by doing the filling the day before the rest of the recipe, to spread the work out.
Unlike my prior Swedish Bread recipe, there's little you need for this that you can't find in your average store. If you want to make it like my family does, you will need a set of cookie sheets. Since you're making layers individually, you need to get them out of the pan (which is the knack that takes practice to perfect), and so you will want cookie sheets that do not have raised rims all the way around:
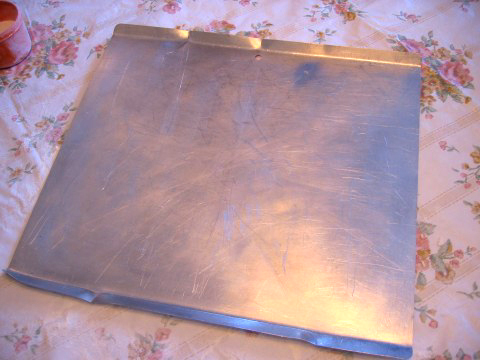
You want at least 3 sheets like this for efficiency (you'll be making 5 layers of dough, so you could use five pans if you have them, and I wouldn't go below 3 available sheets - it's too much of a pain to be getting it into and out of the pans if you have fewer). Cookie sheets with a rim all the way around won't do as well - it's easier to use the whole sheet and slide it off sideways (even if you didn't fill the pan it would likely break trying to lift it over the edge). If you don't have sheets like this, or are afraid of botching something that big up, you can use a smaller round pan (the vinarterta you buy in bakeries is usually made in 9" round pans). If you're trying to go that route, you will likely have more success with the bottoms of 9" springform pans (again, in a pan with edges, there's no easy way to get the thin layer out of the bottom). Rimless pizza pans might be another viable alternative, but I've never tried something like that.
A heavy table mixer will also help with the dough, which is quite stiff toward the end. I have a yuppie kitchenaid stand mixer that does the job well, but it is probably too tough for a small hand mixer. If you don't have something heavy-duty you'll have to likely incorporate the last parts of the dry ingredients into the dough by hand. A food processor is helpful for preparing the filling, but is not necessary - there are many alternatives, from hand blenders to hand food choppers (but I wouldn't use a large blender, it's tough to get it to chop anything but the stuff at the very bottom). Finally, you'll need wax paper, specifically, as opposed to the many films and wraps that most kitchens have. I mention this just because not everybody keeps it around.
There's really two separate things you're making here, the dough and the filling. We'll deal with the filling first because it's the simpler of the two.
Filling - Ingredients
- 1 kg pitted prunes (I suppose you could use non-pitted ones if you really wanted to, it's just more work for you. You need to go through even the pitted ones by hand, as detailed below, because the automation is sloppy and sometimes leaves shards)
- 3/4 cup brown (we use demerera) sugar (approximately - more or less to taste depending on how sweet the prunes are)
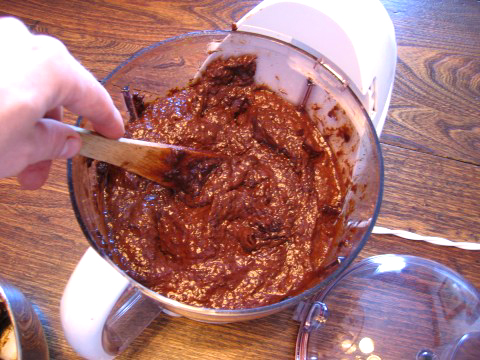
Take the prunes and put them in a decent size pot. Fill the pot with water just barely to the top of the prunes. Too much water will slow this process down, as you have to cook them until the water is absorbed/boiled off. Too little water will let them burn before they're cooked.
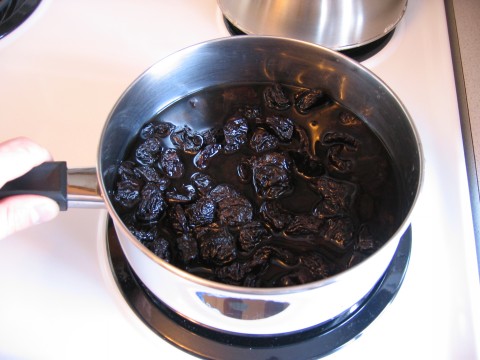
Bring this to a boil and then turn the heat to a simmer. Stir these occasionally to stop them from sticking to the bottom. This doesn't actually take all that long, since the prunes absorb so much of the water -15 minutes or so.
The picture above shows them when they're done: the water is absorbed, but they're not sticking to the bottom of the pot. I got a little overzealous on the stirring, so they are mostly broken up at this point, but if you can keep them mostly together that will be to your advantage in the next step, which is ensuring that there are no pits in the prunes (you really need to do this even if you buy pitted prunes - there's often one or two pits in a kilo and nothing ruins a good dessert like breaking a tooth).
Let the prunes cool to the point where they can be handled (this doesn't have to take long - you could put the pan in ice water, or even outside for a bit if it's as cold as it was when I usually make it). Pick each prune up (this is where it's easier if they're still mostly whole) and give it a squeeze to make sure that there are no pits remaining in the prunes - don't just look for obvious bulges, because you will often find smaller broken pits as well.
After you're done this (it's messy but surprisingly satisfying to the hands in a squishy way, like a mud-pie kind of thing), you need to mince the prunes fine. There's a number of ways you can go with this. You could try a hand blender, or force it through a sieve, but we usually use a food processor. Making sure there's no pits is very important for this, as a food processor will turn them into gravel that will spoil the whole batch.
You don't have to be particularly careful with it as far as the food processor/chopper/whatever goes, it just needs to be a fine, spreadable paste. I just use the chopper blade in the bottom and put them all in at once. Too small batches make for more time spent scraping the sides, whereas the mass of them at once seems to make them want to stir round in the processor better.
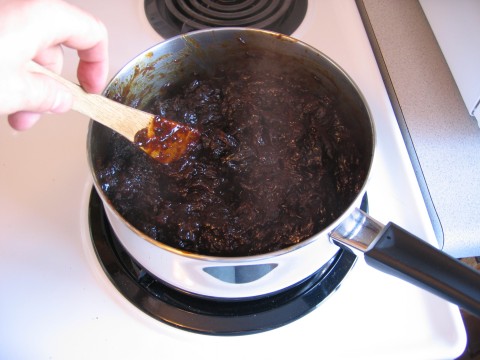
Once this is done, you need to warm and sweeten them. I questioned this step, because I'm lazy enough that just dumping the sugar in at the start would have worked for me, but my grandmother apparently held great store with making sure it was warm when you were sweetening it to taste, as it would not likely be sweet enough when it had cooled otherwise, and because it was hard to judge the sweetness of the prunes until they had been made into a paste. Old wives tale? Who knows, but skip this step at your peril.
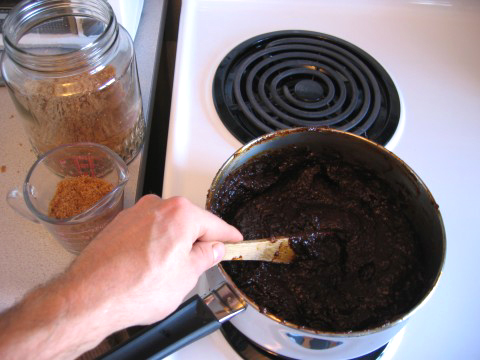
Dump the prunes back in the pot, warm them over a simmer heat, and add about 3/4 of a cup of brown sugar - taste them at this point, and picture it being a filling between two somewhat sweet cookies in terms of how sweet you want it. Add more to taste. This is the point where if you want to make a variant with other spices, extracts, etc., you'd put these in. If you try this, be careful with anything that adds much liquid, as you don't want this to have a runny consistency.
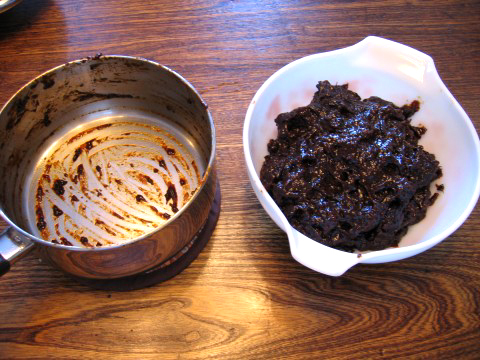
And that's it for the filling. Set it aside for now. You can also make it this far ahead of time to spread the work out, and then just bring it up to a warmer-than-room temperature when you're ready so that it will spread nicely for the assembly step. Now you're ready for the dough.
Dough - Ingredients
- 1 1/2 cups granulated sugar
- 1/2 cup butter
- 1/2 cup shortening
- 3 eggs
- 1/2 cup milk
- 4 teaspoons vanilla
- 3 teaspoons baking powder
- 4 1/2 cups flour (approximately, plus an extra 3/4 cup, plus extra flour for rolling)
I've just called this "dough" so far, after debating whether it should be called cookie or cake layers. After baking they look and feel like cookies -, but the intent is to let this sit and allow the layers to go soft after assembly (partly from taking moisture up from the filling), so the entire thing becomes a heavy torte. I'll call them cookie layers when I'm talking about the cooked product, because that's what they most resemble.
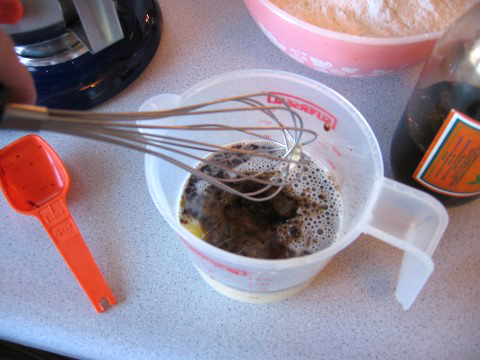
Begin by beating the eggs well.

Add the beaten eggs to the milk, and add the vanilla to it (this is a lot of vanilla, but its a big part of the flavour of our vinarterta. This is the point where any alternative flavorings could be added to the dough if you wanted to (but from my standpoint they're totally unnecessary).
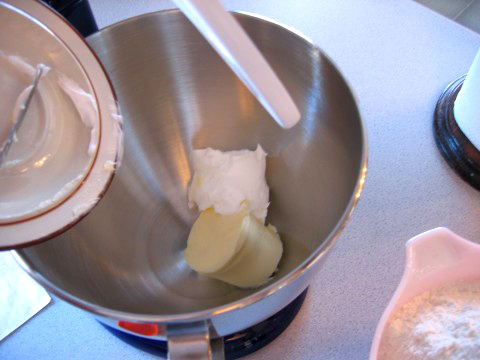
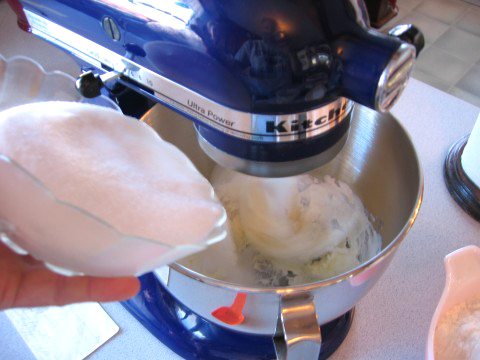
The liquid part of the recipe is now ready. Now you're ready to start working with the solid parts. Put the butter and shortening into your mixer bowl.
Mix this at the lowest speed and gradually add the sugar
Once most of the sugar is incorporated you can raise the speed up a bit, effectively creaming the fat and sugar together.
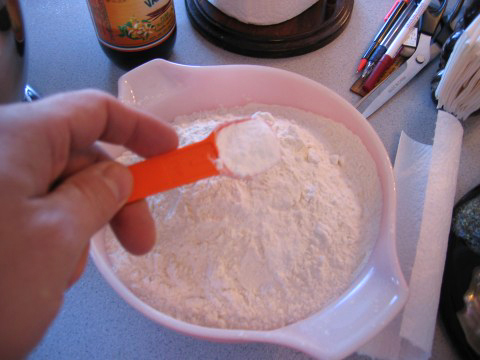
Now you need to ready your dry ingredients so you can mix this into a dough. Take the baking powder and add it to the flour. No need to sift.
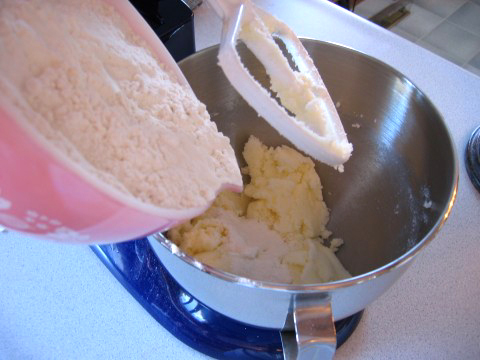
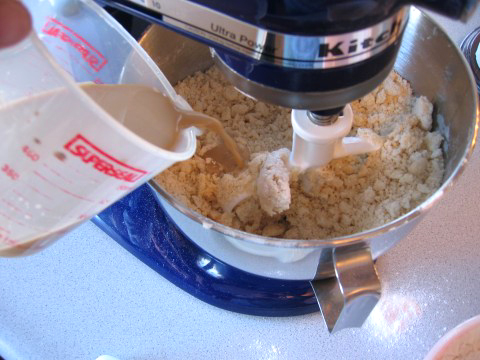
Now, add the a third of the dry ingredients to the bowl and mix it slowly.
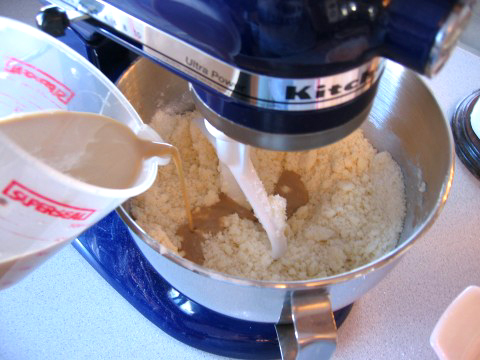
Then add about half of the wet ingredients, and keep mixing it slowly. You want to incorporate everything without over-mixing it.
Repeat this process. The dough will of course get heavier as you do this.
You want to ensure you add the last of dry ingredients last, which is why you are doing the dry in thirds and the wet in half. If this is too much for your mixer to manage at once, split it into further additions, but make sure you are adding dry ingredients at the end. The dough will be very heavy toward the end, and the very last additions may have to be done by hand unless you have a very strong mixer. It will tend to want to ball up on the paddle.
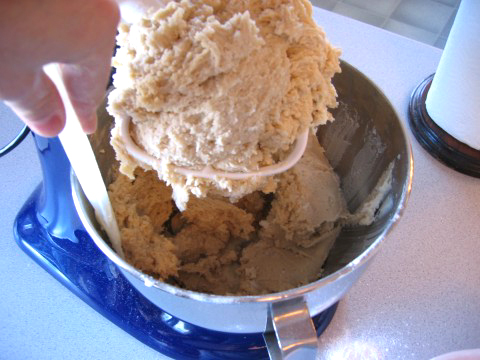
Now you have dough, but it will seem too sticky. It should seem that way, because the next step is hand-incorporating flour and kneading the dough. The quantity of flour stated in the ingredients is an approximate measure, and the correct amount of flour usually varies from 4-5 cups for this recipe. The key is getting a dough that feels right, which is why this is a recipe that works better if you practice it often. You will be rolling this dough very thin, and cooking it for only a few minutes. If the dough has too much flour, it will be too dry and will crack and fall apart before you can roll it thin enough. If it's too wet, it'll be too sticky to roll. At this point it certainly shouldn't feel like a dry dough - it should feel like it needs more flour to dry it up.
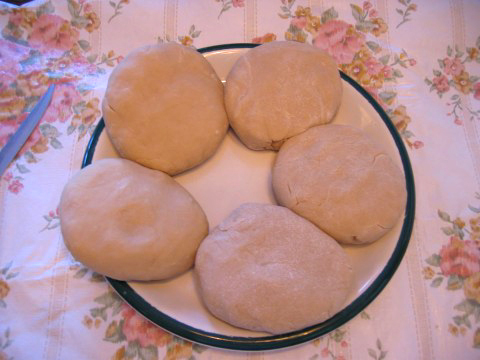
Take the dough to your work area, and bring the 3/4 cup measure of flour with you. Divide it into 5 equal parts. These will become your five baked layers. Another thing to note is that other people's vinarterta can have more layers (the smaller ones, in fact, often do, gaining height over width). Obviously you can experiment with the tower-of-Babel of vinartertas if you so desire, but 5 layers is what ours is.
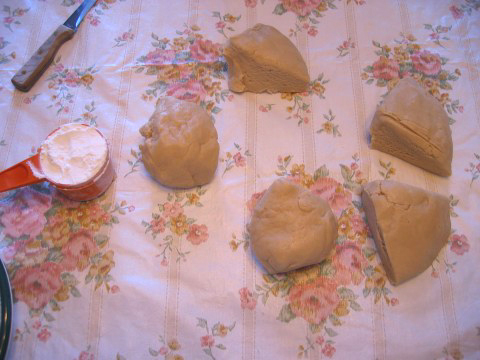
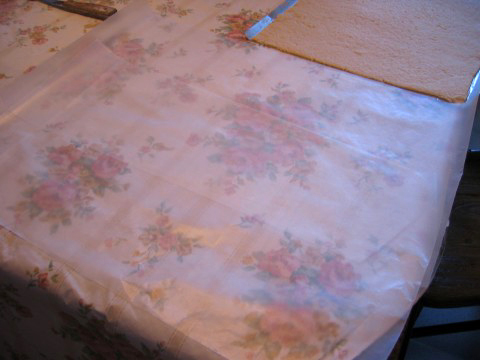
Yes, I know I still need to get a tackier drop-cloth for my table, as I mentioned last year.
To incorporate the rest of the flour, put some on the work surface, lay the dough into it, and put some more on top.
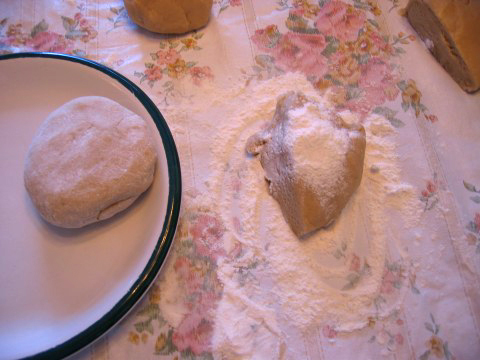
Knead that into the dough until the right consistency is achieved: again, it should not feel too dry, but it shouldn't feel sticky, As you work it, to me it just feels like the silkiest cookie dough you could find. You may not need all of the 3/4 cup of flour - again, you do not want the dough to be too dry! You also don't want to over-work the dough, so incorporate the flour to the right consistency as quickly as possible.
Once you've done all five of these, put a sheet of wax paper over it and put it in the refrigerator to rest and chill for a half hour. Don't leave it longer, as you don't want it to be too stiff for rolling. Take a break while this happens, you've been doing this for awhile at this point! Things get busy after this.
Baking and Assembly
Baking the dough and assembling the vinarterta really goes together: normally you don't have 5 cookie sheets to bake this on at once, so you need to recycle some, meaning the vinarterta has to be partly assembled while some layers are still baking. There are two physical knacks involved in this that you will have to develop: first, rolling the dough and filling a cookie sheet sized area with as few tears and joins as you can manage, and second, getting something this thin and the size of a cookie sheet loose without cracking or breaking it. You will always have some cracks and breaks, and some areas where your rolling repairs are obvious. You want to visually judge your layers so that the best is on the top and the less-perfect layers are underneath where nobody will see them. So all you really want is one perfect layer, but even this can backfire, since it could crack or break at the last stage of assembly, when the other layers are still in place. Don't let this put you off from making this recipe: your company doesn't have to see the whole vinarterta of this size - it's not something you have bring to the table to be carved like a finished turkey. Even if there are a few cracks, it's possible to divide this around them so that you could bring a large piece for a public cutting and have it look perfect, if you really cared about that. Besides, it tastes just as good either way. If you're working with round pans instead, getting that one perfect layer will be easier, as the rolling size is much smaller, and it is a much smaller layer to work with in terms of getting out of the pan. But our vinarterta just doesn't look like that, so these are the instructions you're getting from me.
Preheat the oven to 360 Fahrenheit and get ready to bake.
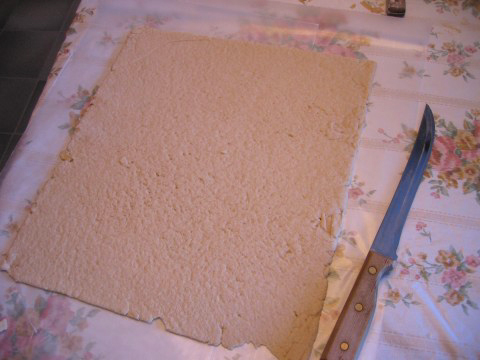
Begin by taking one of the five dough sections and rolling it on a lightly floured work surface. The aim here is just to get it into the right basic shape - don't roll it large or thin at this point.
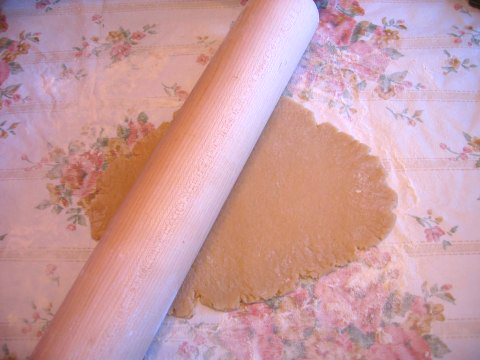
Grease one of the cookie sheets very well (the crucial thing is that these not stick, and it's not easy to get them loose in the centre when they're this size). Slide the sheet under the partly-rolled dough and get it roughly positioned as far as the dough thickness (i.e. if one side is thicker than the other, place the dough so that that side has a little more room to be rolled).

Roll the dough on the sheet to cover all of it.
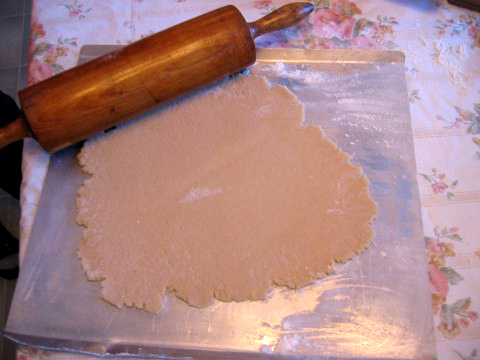
There are a couple of things you need to deal with when you're filling the sheet. Obviously some of it is going to overhang the edge. Just trim that off.
If you're careful you can roll it into the corners without trouble (a smaller rolling pin helps here), but it's likely there will be small areas that are left - just take trimmings and join them onto what you've rolled to fill in gaps. If you're not careful, or roll too thin, the dough can tear or pull back onto the pin (flouring the pin helps here too, but this is rolling it thin enough to begin with that it's always a danger).

Where you do have to patch with trimmings, roll over the seam to try to meld it properly with the main piece - if you're not very careful with this it will just want to break off there after it's been baked. It's very hard to get it so that you don't see such a join after it's been baked, but that's what you're aiming for.
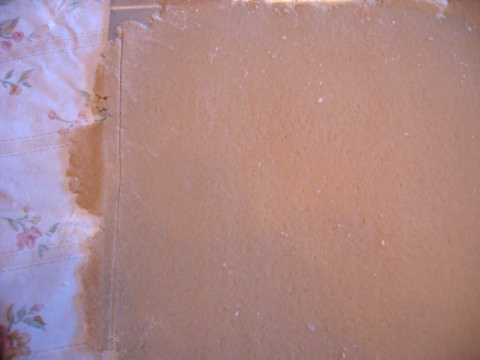
When you've got it all evenly rolled and trimmed on the edges, slip it into the oven and bake it for about 8 minutes. Watch your oven - when you're baking something for a short length of time like this, any variation in temperature can really matter.

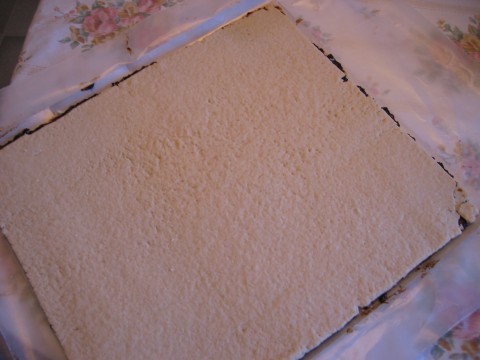
These should be cooked but they should not be browned when they come out, even on the edges.

You can see from the above picture how a even a small join like the corner pictured earlier turns out when its baked: it's hard to get that one perfect layer for the top.
Now, you need to get this layer loosened from the cookie sheet (but not removed - these break easily, so store them on the sheet once loosened and assemble the vinarterta - see below - as the layers are ready). You need to let these cool on the sheet just enough before trying to get the layer loose - it will be very brittle once cold, but too soft to manipulate when it just comes out of the oven. Leave the pan sit until it's still hot but cool enough to handle with bare hands before attempting to loosen. If the sheets are well greased this should not be a big problem, but the dough will stick if you've used too much flour as well as if you haven't greased the sheet enough. A very long knife worked very gently under the edge is helpful, and if you're careful you can push it under far enough to loosen even a stuck centre.
Assuming you prepare one layer as you bake another you are limited mostly by the number of cookie sheets you have. Your first or second layer will mostly likely be the worst one (and therefore not the one you want as a top), because it takes some time to get the technique down pat. If you're lucky and your first layer looks like it's going to be the best, well, use the second one you bake as the base. Either way, you're ready to start assembling the vinarterta as soon as you have a base layer baked.
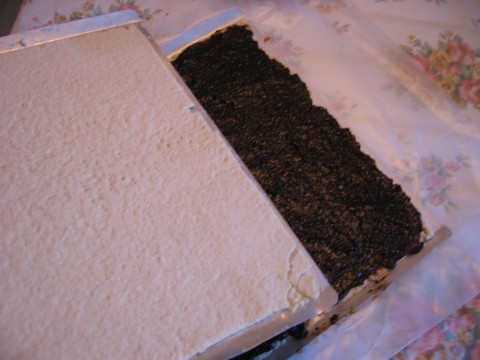
You first need to get a sheet of wax paper under that layer, so there's a reasonable air seal when you're storing the vinarterta and so you can work with it more easily. You'll likely need two sheets of wax paper for a cookie-sheet size vinarterta, to give you the width of the vinarterta and some extra on the edge.
When you're ready (make sure the layer is loose from the pan!) quickly slide the pan out from under the layer to leave it resting on the wax paper. You need to do this fast - if you do it slowly it's likely to break in the middle.
Now, in the same way you picked the partly rolled dough up into the pan, slide the pan under the wax paper and pick the layer back up - the pan is now a firm base for you to begin the rest of the assembly.

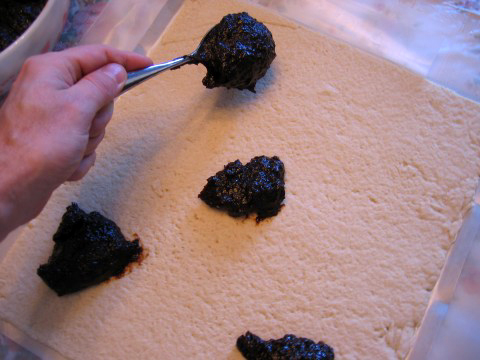
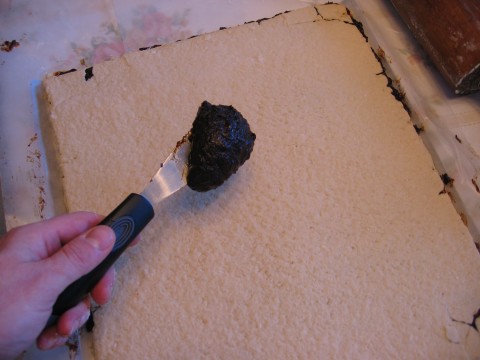
Now you need some filling. Divide the filling you made earlier in four parts (or very carefully spoon the filling out - the last thing you want is to run out before your layers do!), and put the filling in spoonfuls around the layer.
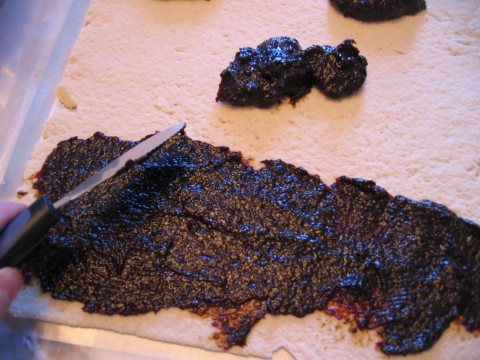
Spread the filling around - it doesn't have to be as pretty as icing something, since another layer will cover it - you just want to get it even and make sure it goes all the way to the edges.
Once this has been done, you're ready to repeat this with all the other layers, as they're baked. To assemble a new layer, make sure it is loose from its pan, and gently but quickly slip the pan out from under it to let it land on the partially-assembled vinarterta below it.
You can usually maneuver it a small amount once its sitting in the filling below it, in terms of getting it perfectly aligned, but it helps a lot if you can get it even to start with. Practice makes perfect. Note in the above pictures that the corner has broken a bit - this will happen sometimes, especially with patching, but is largely invisible inside the layers, so if it happens just position the pieces back as best you can.
Once you're satisfied with placement, spread filling on the second layer just as you did the first.
Continue this until you're ready to slide the top layer on.

When you get to the top, try to be extra careful sliding the layer on, since you don't have any more left to cover it up with if it doesn't go well! Hopefully you can do a neater job on the spreading and not hit the wax paper quite so much as I did. Just to avoid marking the top in case you have got filling on the wax paper, make sure you fold this wax paper under rather than over the cookie sheet.

At this point there are those who ice/marzipan/some combination on top of this fifth layer. Again, we view this as sacrilege to the vinarterta - I find it makes it cloyingly sweet and makes the texture less pleasant - but others view it as integral. Explore their recipes for icing if you so desire.
Now, this is not yet ready to eat - right now the layers are very hard and cookie like. You need to put the vinarterta in the refrigerator for a couple of days. Over this time, the flavour will intensify in the filling, and the layers will soften into a heavier consistency. You'll know its right because a knife will sink properly into it when slicing - the very edges may still be a little hard, but the point where you'd put a knife in to cut a slice will be soft. You want to cover it with wax paper, and put a couple of tea towels around it while it sits - we usually keep it that way in the fridge over the christmas season (a couple of weeks), but it dries up quickly if it's left to the air.
Once it's softened, you might want to trim the edges to even them up if you really want to, but we just tend to serve ourselves the edge pieces first (gotta leave those even pieces for company!).
How you serve this is up to you: we usually just have it in small slices, say 2 1/2" long by about 3/4" wide. It's fairly rich so you don't usually have amounts of it at once. You might want to divide the large vinarterta into smaller units to slice at the table, and to make it easier to store. It also freezes really well.
If you have any further questions on this, by all means email me.
December 18, 2005