---
title: Digital notebooks
author: Franklin Bristow
---
Web-based digital interactive notebooks
=======================================
::: outcomes
* [X] Use a web-based interactive notebook to document progress in a lab
notebook.
:::
So far in the course you've been using a text editor (`vim` or VS Code) to write
your lab notebook. This is... [fine].
Another approach to documenting your work and progress is to use "digital
interactive notebooks": software that runs in your web browser and allows you to
create notebooks where you can run code and see results.
One popular digital interactive notebook is [Jupyter notebooks].
We're not going to be using this extensively, this is really just to give you a
chance to see another approach to documenting your work.
Let's start a new notebook here:
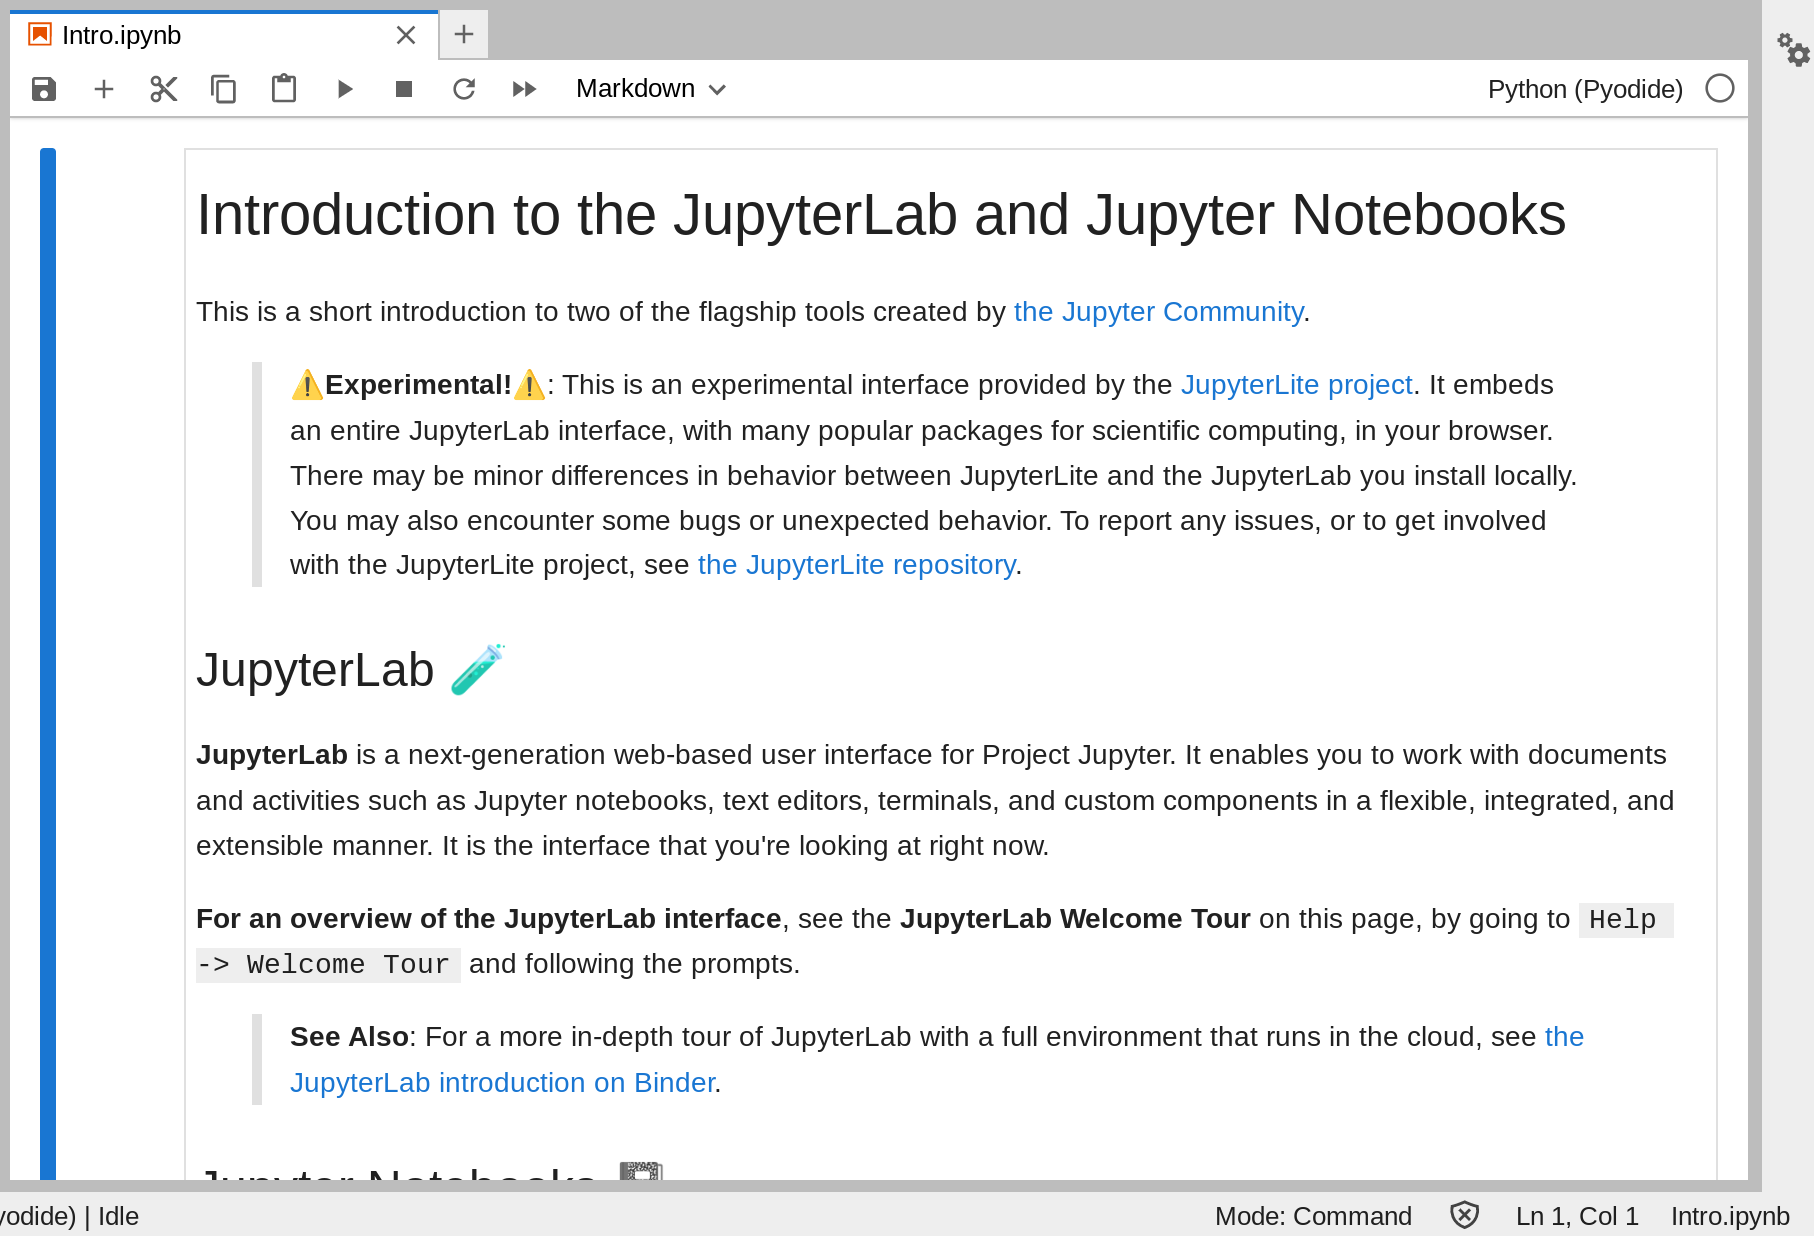
When you first open this work space, you're going to be greeted by an
introductory notebook:
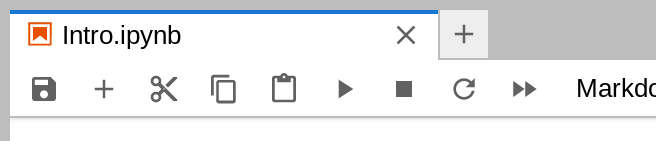
The introduction is great, but let's get our hands dirty. Click on the + icon
just above the toolbar to create a new notebook:
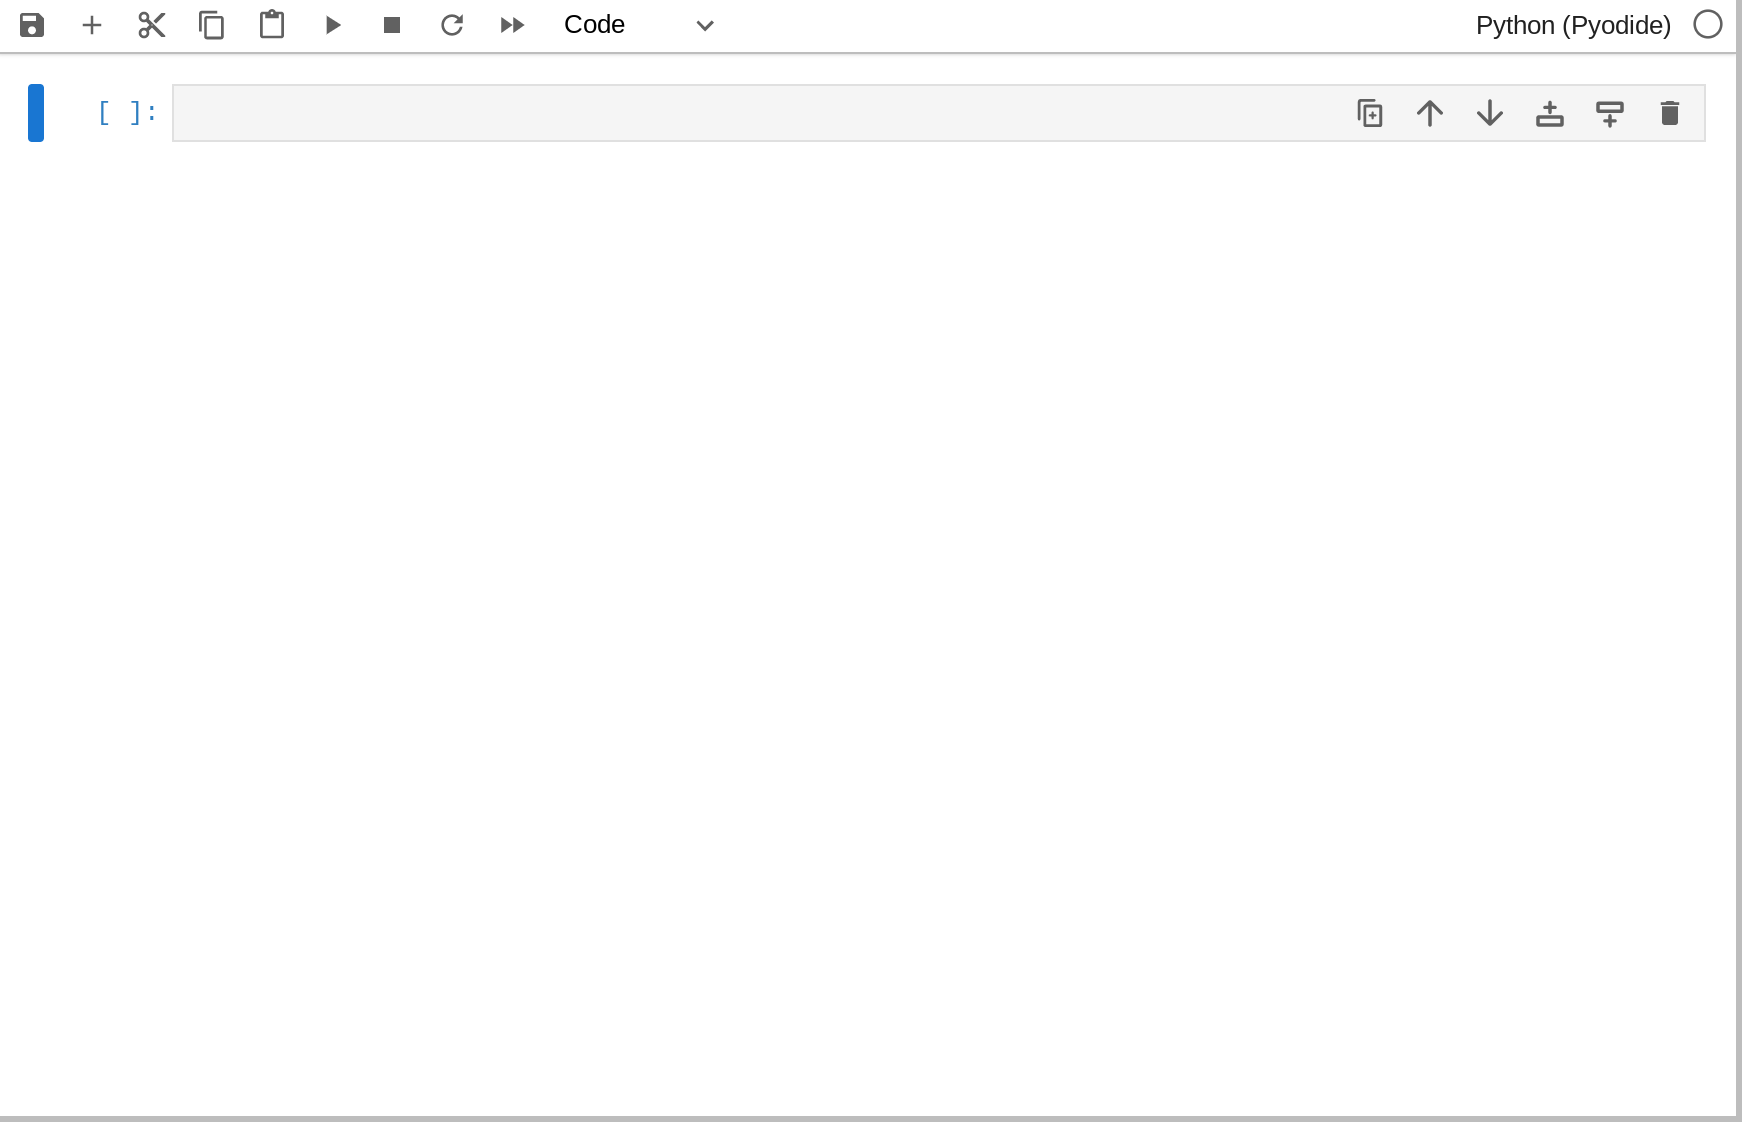
You'll have a list of options to choose from for the type of notebook to create.
You should choose "Python (Pyodide)" under "Notebook". Clicking on that will
give you a blank slate:
Jupyter notebooks are made up of a sequence of "cells". Cells can contain
plain text, Markdown-formatted text, or code. In this Jupyter notebook, the code
that we can enter is Python. Different Jupyter notebooks support different
languages, but this free one we're using only supports Python and SQLite.
On the toolbar is a drop down menu that's currently set to "Code". Click on that
drop down and choose "Markdown", then click in the cell (the gray box in the
empty notebook) and start typing some Markdown. Similar to Pandoc, this Markdown
also supports $\LaTeX$.
When you're done entering your Markdown, either press
Control+Enter on your keyboard, press
Shift+Enter, or click somewhere outside the cell. This
will get Jupyter to render your Markdown (it's all fancy looking now!) and will
also create a new cell below the one you just entered Markdown into.
The new cell you just created is a Python code cell. Let's try running some
simple Python:
```python
print("Hello, world!")
```
Again, press Control+Enter or
Shift+Enter on your keyboard. Jupyter is then going to
*run that code* and show you the output immediately below the cell. Cool!
Check out the introductory notebook for a more complex example using Python,
NumPy (a Python library for doing math), and Matplotlib (a Python library for
creating plots/charts/graphs).
This entire idea is an implementation of something called [Literate
Programming] --- mixing code and explanations for the code together into a
single place rather than having code and documentation be separate.
You're going to be writing your lab notebook in Jupyter this week and converting
the notebook into other formats using Pandoc. You will not be expected to write
any Python or other programming code in this notebook.
[Jupyter notebooks]: https://jupyter.org/
[fine]: https://i.kym-cdn.com/photos/images/facebook/001/476/528/d03
[Literate Programming]: https://en.wikipedia.org/wiki/Literate_programming